Installation Help

Video For Installation


How to Replace Your Bathroom Sink Faucet


Step 1: SHUT OFF WATER

Start by turning off the water supply.Most of time you'll find the valves under the sink.Just take a look at your shut off valve underneath your sink.Go ahead and turn the knobs clockwise.If you have any corrosion, you might need some penetrating oil or lubricant.And if you don't have the shutoff valve,cut the water off outside.Once they're off,turn the faucet on to release any pressure and drain any water left in the water lines.

Step 2: DISCONNECT SUPPLY LINES

Next with an adjustable wrench,disconnect the hot and cold supply lines from the old faucet.Supply lines are used to transport water to the faucets.Then disconnect mounting nuts and the lift rod.Remove the nuts from the bottom of sinks where the faucet meet the counter and finally disconnect the lift rod for the drain plug.An then take the old faucet out.Since most of new faucets come with a matching drain plug you 'll want to remove the old one.Be sure to have something handy to catch the water,and remove the P-trap.Disconnect the drain from the sink.

Step 3: CLEAN SINK & FACUCET SURFACE

If you're keeping your old sink,clean around the old drain and faucet holes.You know,you could take a putty knifeor maybe even some household cleaner to clean up.Once all clean up,we 're ready for the new faucet.

Step 4: PREP & SET NEW FAUCET

If you're installing a new sink and vanity like we did,it is much easier to mount the faucet before you put the sink in place.Speaking of sinks,you'll either have one,two,three holes.and it'll either be centerset or widespread.You want to be sure to buy a faucet that are matching your sink,and that you follow the manufactuer's directions.Our faucet is centerset.Put the gasket on first,if the model do not have the gasket,you might need silicone or caulk,then insert the faucet through the mounting holes and tighten the mounting nuts.

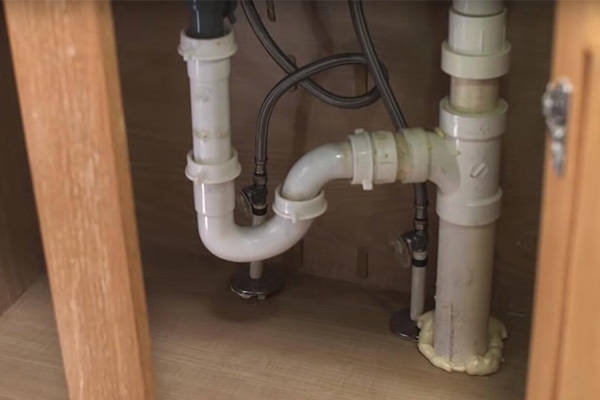
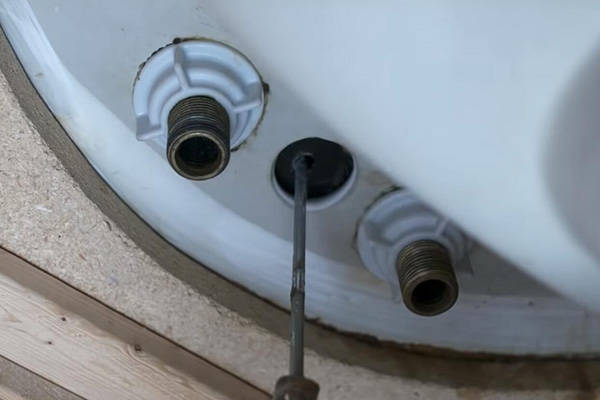
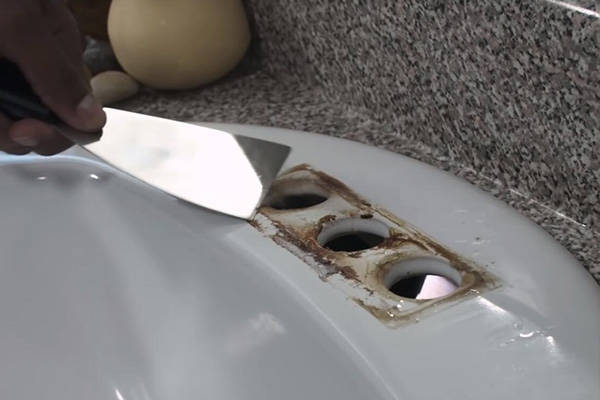
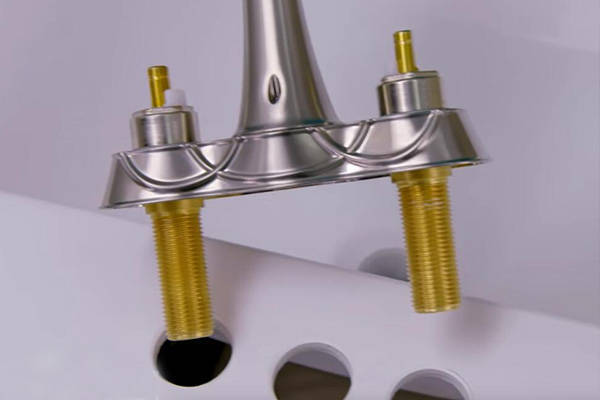
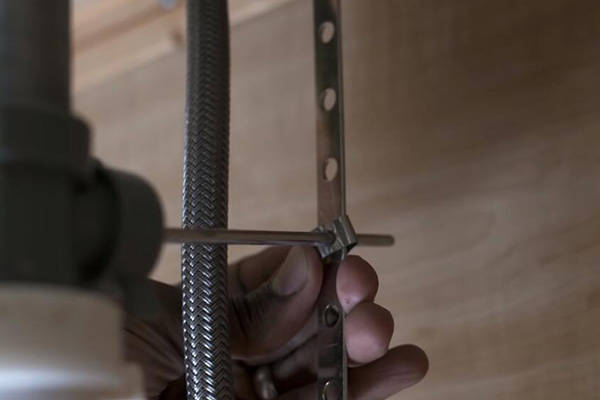
Step 5: RECONNECT SUPPLY LINES & LIFT ROD

Handles are next.All right,let's reattach the supply lines,and then tighten them with an adjustable wrench,don't forget to reattach the lift rod and drain.Take the drain body and screw the nut all the way down,and position the gasket over it.Next apply a little bit of silicone under the flange.Hold the drain body in place-with the pivot facing the back-and screw the flange on.Then tighten the nuts and gasket,and clean up any excess silicone with mineral spirits.To install the drain rod,unscrew the pivot nut,insert the horizontal rod through the hole in the stopper,and tighten the nut.Slide on the strap and clip,then insert the lift rod through the faucet into the strap.Push the horizontal rod down,and secure the lift rod to the strap with the screw.before we set the sink in place,i like to connect the supply lines to the faucet shacks,then install the sink and connect the supply lines to the water valves.

Step 6: TURN WATER ON & INSPECT YOUR CONNECTIONS

It's a good idea to flush the new faucet and check for the leaks before you're done.Just remove the aerator,and then run hot and cold water for one minute.If you find any leak,turn off the water and tighten up the connections.Check all the connections and retighten if needed.Replace the aerator and that's it.See installing a new faucet doesn't take much time.